


Item was larger than expected but in good order. Arrived on time and package was undamaged. Build is still pending, will comment further when completed
after support, the laser works fine. So product is fine and support is fine.
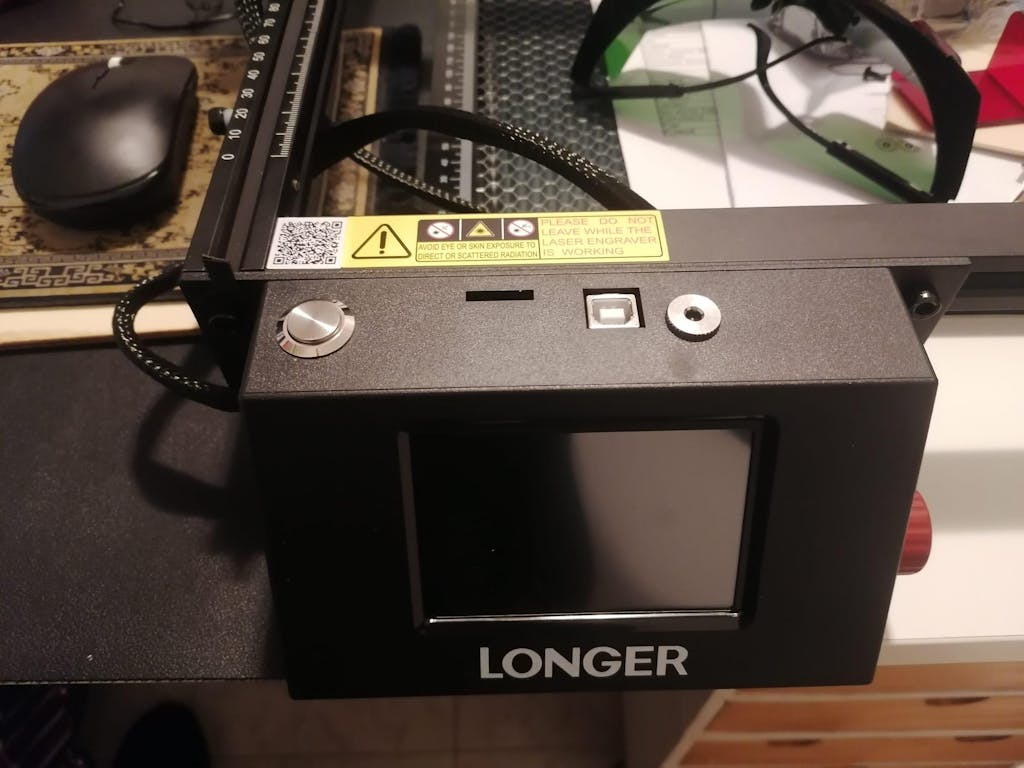
Good morning, I'm happy with my choice of the RAY5 5W engraver, which is excellent for my needs, but I'm frustrated and disappointed with the technical support. I can't figure out what's going on. 14 days after the engraver arrived, I still can't turn it on. They told me that during this New Year's Eve period, everything shuts down. Today, February 24th, I hope you can help me resolve my issue. I hope to hear from you soon.